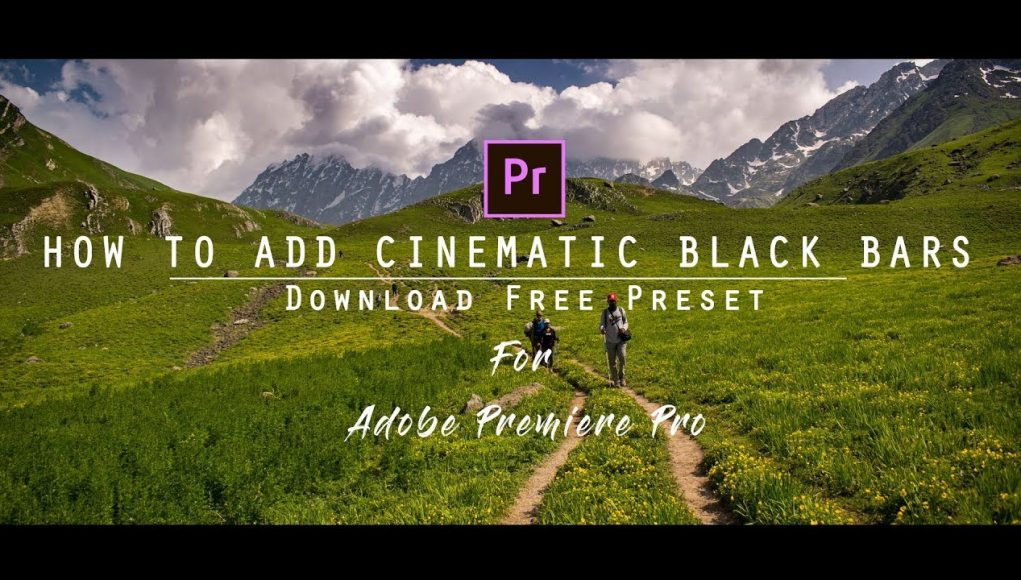
You probably have noticed a black bar visible at top and bottom of many videos in YouTube or in the movies. Well, the common name of this is “Cinematic Black Bar” and technically it is called “CinemaScope” at the time of film/movie production.
This 10-13% black area gives your footage a cinematic look and more attractive to the viewers. Well, today I am going to show you how to add this cinematic black bar or CinemaScope to your video using Adobe Premiere Pro.
You can watch the tutorial video from the end of this video. Also from this YouTube video description, you can download the Cinematic black bar preset. Just drag and drop this preset to your video and you will get the cinematic look instantly. You can use this cinematic black bar present in your travel videos, travel cinematic videos, documentaries and short films.
Okay, so for getting the cinematic look on your video footage, you need to follow these steps:
How to Add Cinematic Black Bars
STEP #1: Open Adobe Premiere Pro
STEP #2: Import your video footage into your project. [Try to create 1920 x 1080 HD timeline]
STEP #3: Drag and drop the video into your sequence timeline.
STEP #4: Create an Adjustment layer. Drag and drop thet adjustment layer above your footage area.
STEP #5: Go to effect and search for “Crop” and drag and drop the effect to the adjustment layer.
STEP #6: Now go to effect control panel and put 13% in the Top and 13% in the button.
That’s it, now you can see the black bars appear in your video footage.
This is the technique to create the cinematic black bars using an adjustment layer. But if you don’t have the option to create adjustment layer just drag and drop the Crop effect directly to your footage.
For detail tutorial do watch the video below:


![How to Cinematic Color Grade in FILMORA [Tutorial] how to cinematic color grade in filmora](https://www.topfivebuzz.com/wp-content/uploads/2022/02/how-to-cinematic-color-grade-in-filmora-238x178.jpeg)


